Single sign-on
Single Sign-On (SSO) allows users to authenticate with multiple applications using a single set of credentials, typically managed by a third-party identity provider like HelloID or Azure AD. In our app, we use Laravel Socialite to implement third-party SSO, which simplifies the integration with various providers such as OAuth 2.0 and OpenID Connect (OIDC), depending on our clients' requirements.
With Socialite, we handle the entire authentication flow efficiently. This includes redirecting users to the provider’s login page, receiving the necessary authorization code or token, and validating it to securely manage user sessions. By leveraging Socialite, we ensure a seamless, secure login experience for our users while reducing the need to manage passwords and authentication logic directly within our application.
Gathering info
Determining the store
The first step in the process is to determine the slug of the client's store. Users of this client will be automatically linked to this store when they log in via SSO.
- As an admin, go to the stores overview
- Click the edit button next to the client's store
- Write down the value under the "slug" label
Information for the client
For a client to be able to configure their SSO provider, we need to supply them with the following information:
- The authorization initation URL (
https://app.smarthealth.works/users/login/SLUG) - The Socialite callback URLs for every environment
- Invite them to the platform as store admin so they can create their own Smart Health API client to off-board employees
An example of callback (redirect) URLs:
https://app.smarthealth.works/users/login/SLUG/callback
https://staging.app.qbixx.nl/users/login/SLUG/callback
https://smarthealth-app-trial.shdev.nl/users/login/SLUG/callback
https://test1.app.qbixx.nl/users/login/SLUG/callback
https://test2.app.qbixx.nl/users/login/SLUG/callback
https://test3.app.qbixx.nl/users/login/SLUG/callback
https://app.smarthealth.test/users/login/SLUG/callback
If they don't want to create test credentials for every one of these, then the local https://app.smarthealth.test is the most important one to get started with.
Requirements from the client
To get started, we require some information from the client and their SSO provider:
- Which provider they use (Okta, Azure AD, …), which protocol it follows (OAuth2, OpenID Connect), and a link to their documentation
- A client ID and client secret for each environment (at least production, staging, and test/local)
- The authorization URL
- The token URL
- The user info URL or how to get basic user information like ID and email (usually a dedicated endpoint, often encoded in the JWT token)
- If there's a dedicated endpoint to get additional user information (names, address, locale, employee number) + client credentials for each environment
- Which scopes to request when redirecting the user to the authorization URL (e.g.
openid,email,profile,address,profile.basic.read) - The scope separator (defaults to a comma, but some use a space)
- If there are any custom specifications to follow (custom grants, custom Bearer token, rate limiting)
- Which email address domains they want to support (we use this to redirect users to the SSO flow when they try to log in via the form)
- A test account (email and password) with valid user data that works in all environments and for all callback URLs
- A white, web-optimized SVG logo of their company
- A white, web-optimized SVG logo of their SSO provider
- Additional documentation if necessary
- Dedicated technical contact person in case of questions or issues (and a backup if they go on holiday)
Implementation
https://socialiteproviders.com/ already has quite the list of ready-to-go providers, but since every third-party likes to give it their own twist, a custom implementation is usually required.
The entry point for registering and configuring a new SSO provider can be found in \\App\Providers\AuthServiceProvider::configureSocialite().
De Zorggroep
The following explains the process of creating a Socialite user for De Zorggroep SSO.
Also see \Tests\Mocks\SingleSignOn\DeZorggroepSingleSignOnDriverMock for an example of the data that is being moved around during this process.
Azure OAuth2 OpenID identity provider (IdP)
The response we get after a user successfully authenticates with the provider and is redirected to the callback URL is an encoded JWT (JSON web token). This needs to be parsed and decoded before it can be read.
The contents of the JWT after decoding:
{
    "aud": [
        "00000003-0000-0000-c000-000000000000"
    ],
    "iss": "https://sts.windows.net/a2e45cc1-34d8-40a6-847a-8033a9d803e4/",
    "iat": "2023-09-12T20:55:44.000Z",
    "nbf": "2023-09-12T20:55:44.000Z",
    "exp": "2023-09-12T22:03:26.000Z",
    "acct": 0,
    "acr": "1",
    "aio": "E2FgYNjH2LZpkkIyS7Fnlul0pb2ckX5T1ga4bz++eqtnr9UBqfYg14NySXlqcXWOzytk3aqSAA==",
    "amr": [
        "pwd"
    ],
    "app_displayname": "Smart Healt Test 1 LOKAAL",
    "appid": "69ca359e-9d9d-4ea6-bf9b-73ca79de0333",
    "appidacr": "1",
    "family_name": "SmarthHealth",
    "given_name": "Test",
    "idtyp": "user",
    "ipaddr": "185.107.56.232",
    "name": "Test T. SmarthHealth",
    "oid": "f1cb3c7f-449f-41a3-9253-67cc93fd7634",
    "onprem_sid": "S-1-5-21-128895015-3497329168-2103897831-106849",
    "platf": "5",
    "puid": "10032002D815A9BA",
    "rh": "0.ARAAwVzkotg0pkCEeoAzqdgD5AMAAAAAAAAAwAAAAAAAAACXAOM.",
    "scp": "openid profile email",
    "sub": "Z1eHPoPoo7JbpdeP8XGdPhiQdE-XXpEBCZxCByqtKWo",
    "tenant_region_scope": "EU",
    "tid": "a2e45cc1-34d8-40a6-847a-8033a9d803e4",
    "unique_name": "test.smarthealth@dezorggroep.nl",
    "upn": "test.smarthealth@dezorggroep.nl",
    "uti": "qlXYU7J9F02yoDS-MhcCAA",
    "ver": "1.0",
    "wids": [
        "b79fbf4d-3ef9-4689-8143-76b194e85509"
    ],
    "xms_st": {
        "sub": "boxVzhcVeiy-WhYq9CtLrLm8a9uJPN-5VK5ghsjQLbA"
    },
    "xms_tcdt": 1326887468,
    "xms_tdbr": "EU"
}
The fields of interest are oid (Azure object ID, aka immutable third-party user ID, aka social account ID) and upn (User Principal Name, in this case the email address of the user).
AFAS API
Once we have the user's email address as registered with the identity provider, we can use it to make an API call to a (totally unrelated) provider called AFAS that stores the actual user and employee information.
An example response from the AFAS API:
{
    "skip": 0,
    "take": 100,
    "rows": [
        {
            "MedewerkerId": "1000171",
            "Roepnaam": "John",
            "VoorvoegselGeboortenaam": "Van",
            "Geboortenaam": "Doe",
            "VoorvoegselPartner": null,
            "GeboortenaamPartner": null,
            "NaamgebruikCode": "0",
            "Naamgebruik": "Geboortenaam",
            "Voorletters": "J.V.D.",
            "Geboortedatum": "1956-01-22T00:00:00Z",
            "OverlijdensDatum": null,
            "Geslacht": "Vrouw",
            "Straat": "Paleisstraat",
            "Huisnummer": 25,
            "HuisnummerToevoeging": "bus 22",
            "Postcode": "2033 BW",
            "Woonplaats": "Herten",
            "Land": "FR",
            "Landnaam": "Nederland",
            "PostAdresStraat": "Paleisstraat",
            "PostAdresHuisnummer": 25,
            "PostAdresToevoegingHuisnummer": "bus 22",
            "PostAdresPostcode": "2033 BW",
            "PostAdresPlaats": "Herten",
            "PostAdresLand": "FR",
            "TelefoonWerk": null,
            "TelefoonPrive": "06-45781295",
            "MobielWerk": null,
            "MobielPrive": "06-45781295",
            "EmailWerk": "john.doe@dezorggroep.test",
            "EmailPrive": null,
            "WerkgeverCode": "01",
            "WerkgeverNaam": "De Zorggroep",
            "BurgerlijkeStaat": "Ongehuwd",
            "Geblokkeerd": false,
            "Organisatorische_eenheid": "42",
            "Omschrijving": "E3 X4"
        }
    ]
}
We then combine the two into one and return that as the Socialite user for further use in the application.
KWS
KWS uses Okta as identity provider.
An actual response returned from the /userinfo endpoint after making a request with a valid Bearer $access_token:
{
    "sub": "00ucgstc7eOt1fzE50i7",
    "name": "smarthealth_tets@kws.com smarthealth_tets@kws.com",
    "locale": "en_US",
    "email": "smarthealth_tets@kws.com",
    "preferred_username": "smarthealth_tets@kws.com",
    "given_name": "smarthealth_tets@kws.com",
    "family_name": "smarthealth_tets@kws.com",
    "zoneinfo": "America/Los_Angeles",
    "updated_at": 1709741805,
    "email_verified": true
}
From the documentation:
{
    "sub": "00uid4BxXw6I6TV4m0g3",
    "name": "John Doe",
    "nickname": "Jimmy",
    "given_name": "John",
    "middle_name": "James",
    "family_name": "Doe",
    "profile": "https://example.com/john.doe",
    "zoneinfo": "America/Los_Angeles",
    "locale": "en-US",
    "updated_at": 1311280970,
    "email": "john.doe@example.com",
    "email_verified": true,
    "address": {
        "street_address": "123 Hollywood Blvd.",
        "locality": "Los Angeles",
        "region": "CA",
        "postal_code": "90210",
        "country": "US"
    },
    "phone_number": "+1 (425) 555-1212"
}
Source: https://developer.okta.com/docs/reference/api/oidc/#response-example-success-8
Testing
Each part of the SSO process is thoroughly tested, however since we use third-party providers and APIs, we can never be sure.
One extensive part of these tests are the provider mocks. They both prepare the tests using mock data and provide some values to assert and check against.
Manual testing
As a new user
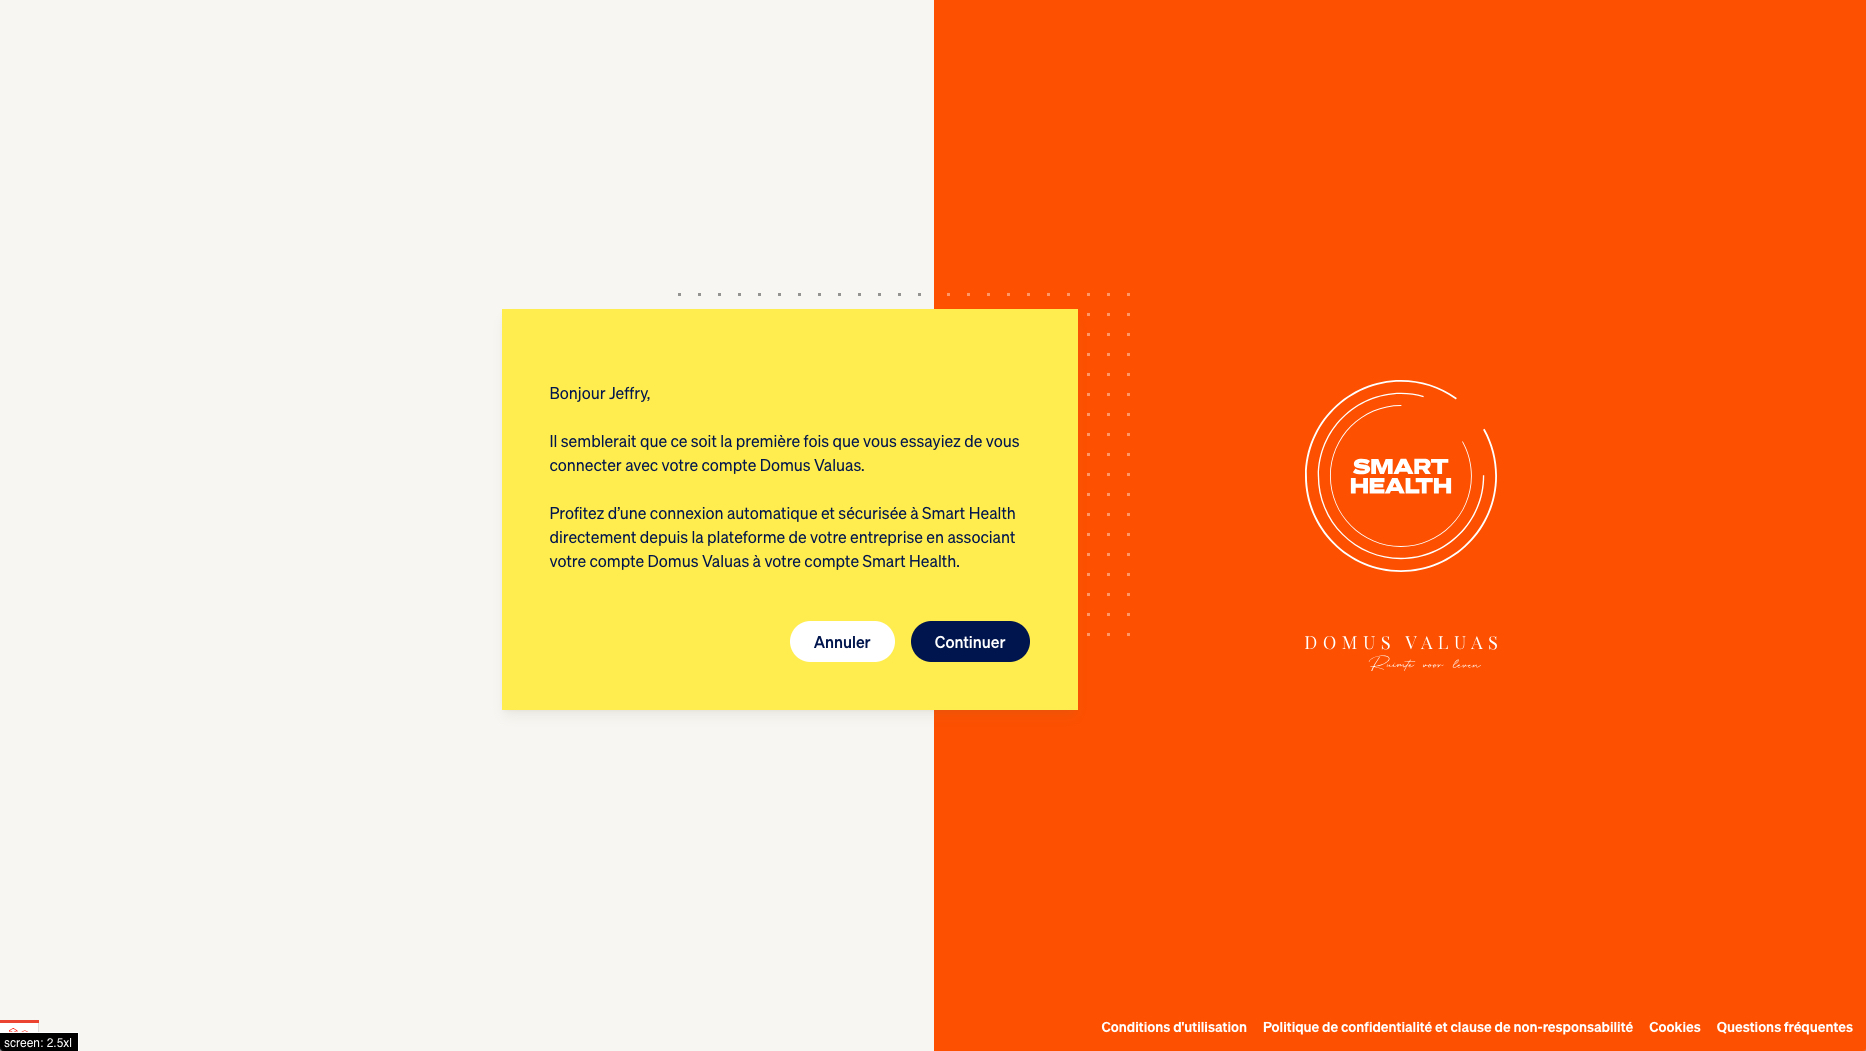
If you go to the login page and enter an email associated with an SSO provider, you'll be redirected to the SSO landing page. Some examples: user@domusvaluas.nl, user@domusmagnus.com, user@tergooi.nl, user@popvriendseeds.nl, user@kws.com, user@dezorggroep.nl, user@despar.nl, user@spar.nl.
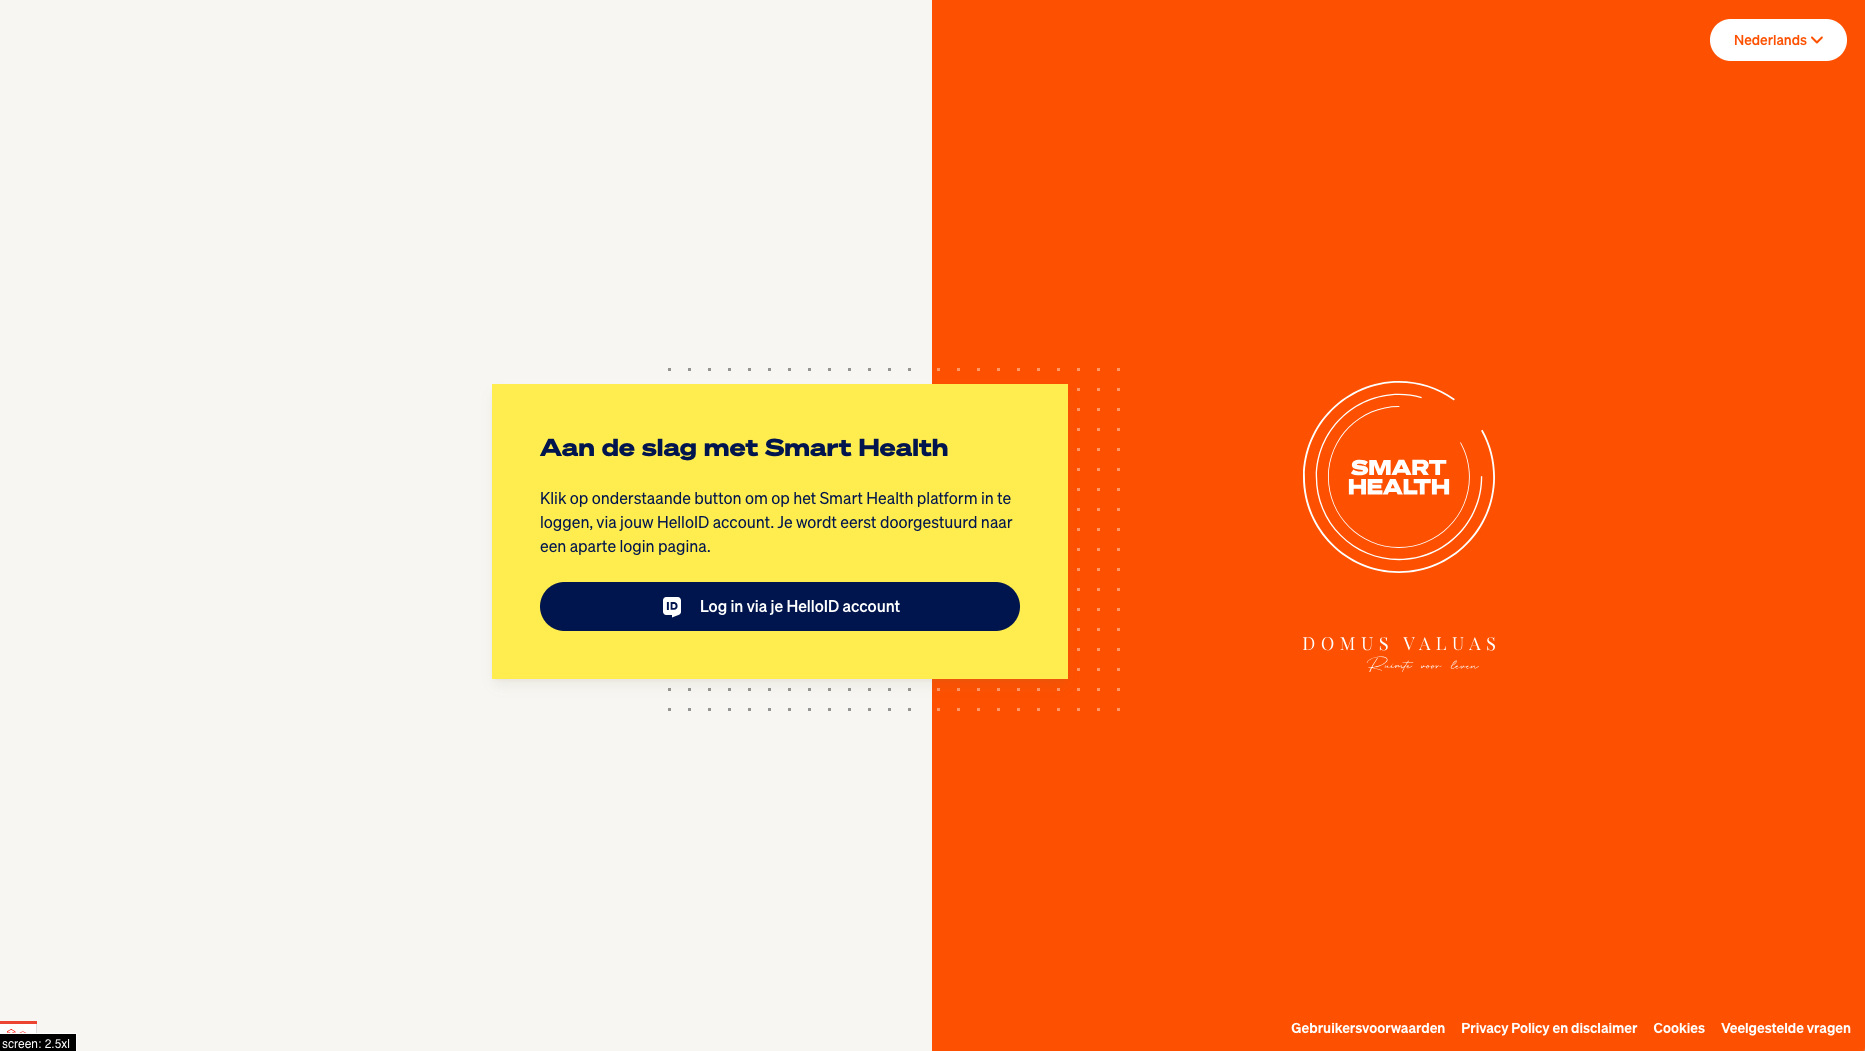
The button takes you to e.g. https://app.smarthealth.works/users/login/domus-valuas which starts the authorization flow. After logging in, you'll be redirected back to the platform and straight to the registration form. Some fields will be prefilled if we were able to obtain that information for the identity provider. After registering, some stores can ask additional questions you'll need to complete before being able to continuing. By completing the flow, you'll become an employee of that client's store and possibly get some budget too!
As an existing user
If you're currently not logged in and you already completed the SSO flow before, following the previous steps will automatically log you in after authenticating with the third-party provider.
As a logged-in user
If you're currently logged in and haven't completed the SSO flow yet, you can do so via your profile if you're already an employee of the store or via the initiation link at e.g. https://app.smarthealth.works/users/login/domus-valuas. You'll be redirected to a confirmation page where you can start the authorization flow.